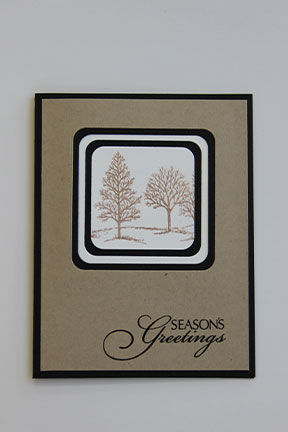
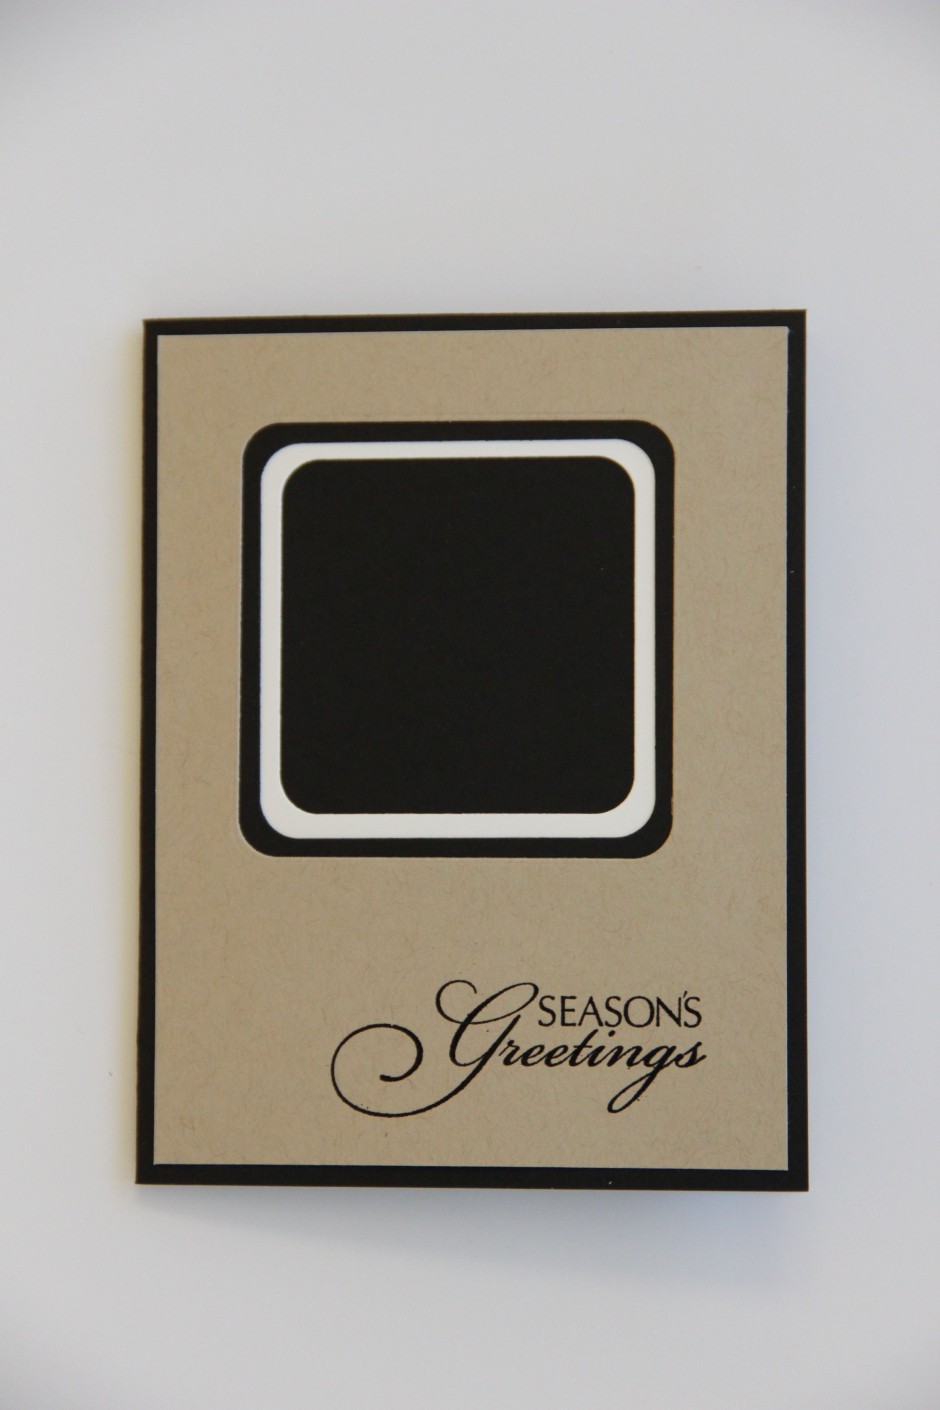
Hi Guys and Gals. I hope everyone had a great holiday season. Now that everything has calmed down I finally have time to post my christmas card that I sent out.
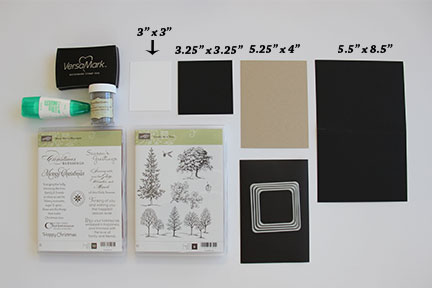
These are the supplies that I used.
- Versamark ink
- Stampin Up Crumb Cake ink
- Black embossing powder
- Tombow Glue
- Stampin Up Cardstock: Black, Whisper White and Crumb Cake
- Stampin up Stamp Set: Lovely as a Tree and More Merry Messages
- Lifestyles Craft nesting rounded square dies: 2″ x 2″, 2.25″ x 2.25″, 2.5″ x 2.5″, 2.75″ x 2.75″
- Sizzix Big Shot
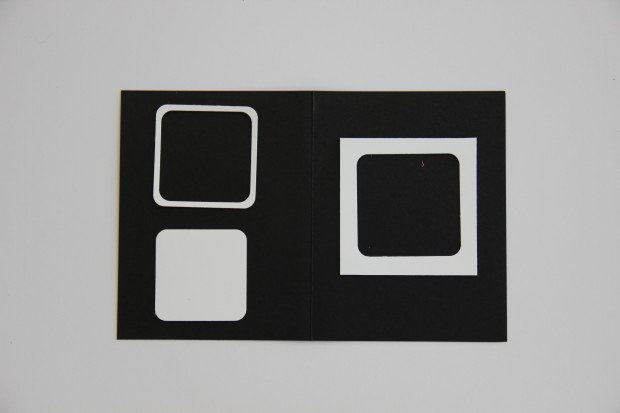
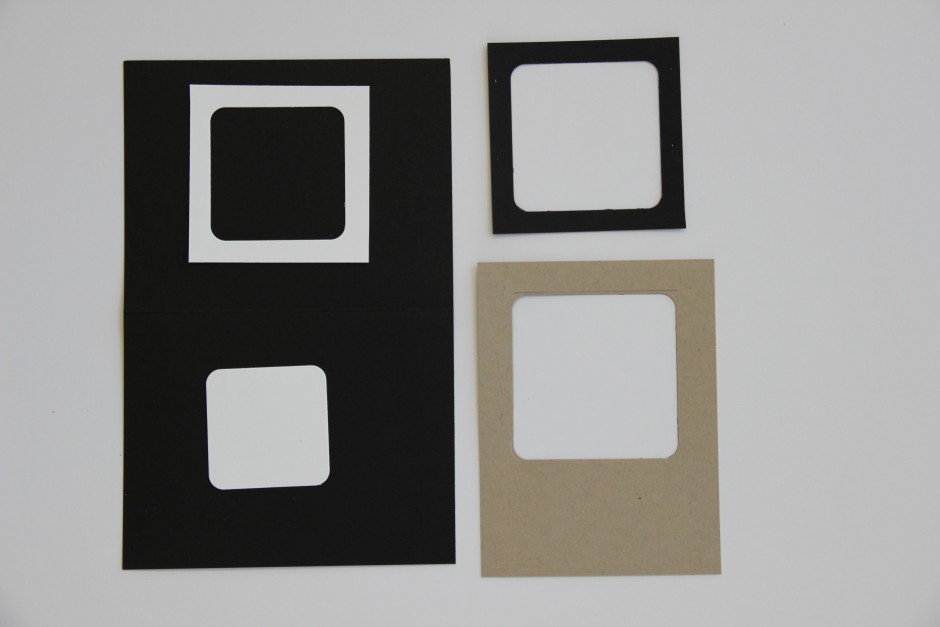
Now this card looks like there is a lot of card stock but as you can see there is come creative thought so that the card does not become too thick. The white card stock has two of the dies used on it. It has both the 2″ and the 2.25″ used on the same piece. You can save the middle frame to use on another project.
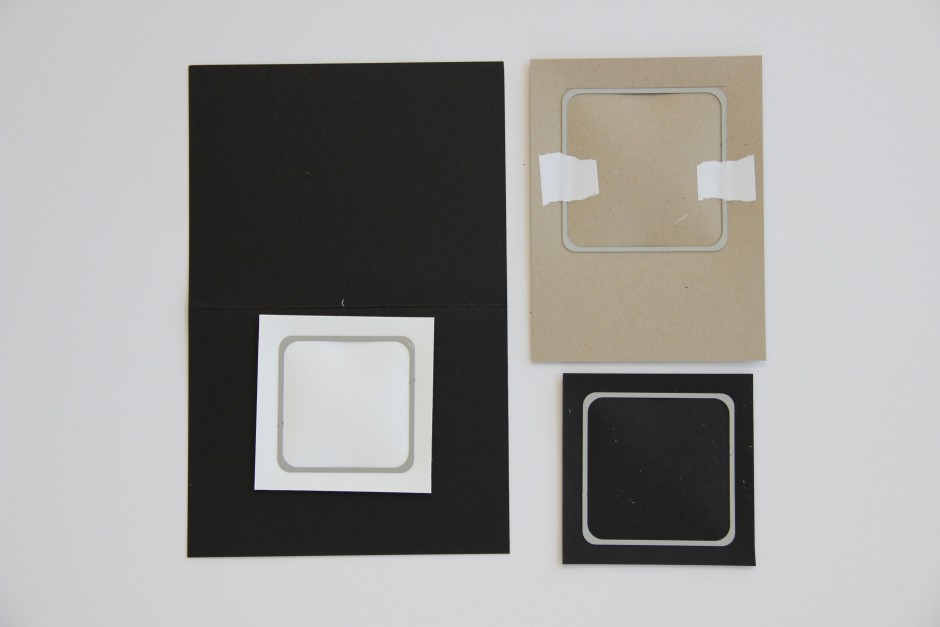
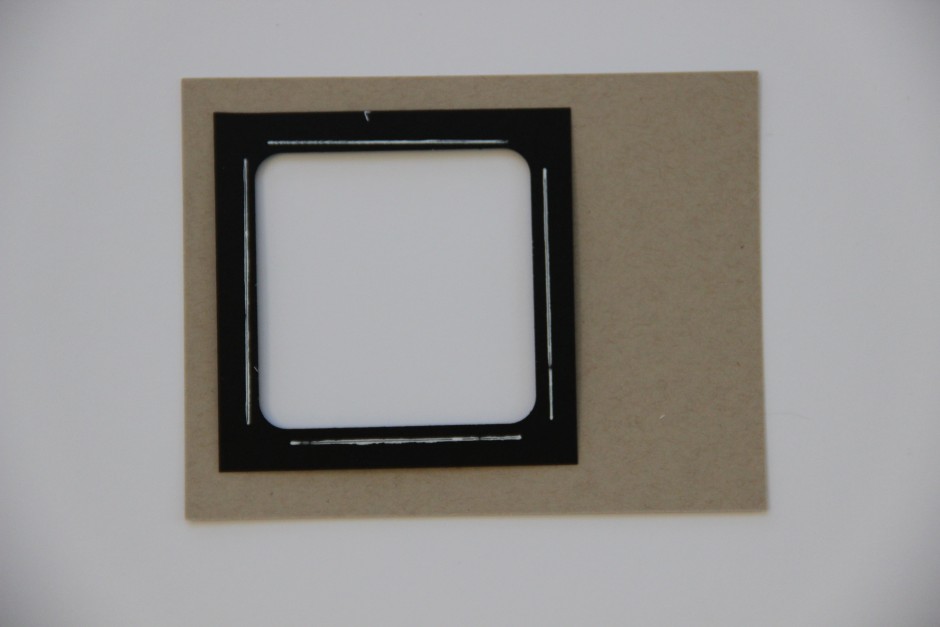
The 2.75″ dies is used on the crumb cake layer measuring .75″ from the top edge. The 2.5″ dies was used on the smaller black cardstock. The white tape on the crumb cake is some eclipse tape (similar to a post-it, but not necessary).
Next you will want to emboss your sentiment before layering so that your image is stamped evenly. Then you will start gluing the layers together. I found it’s best to put the glue on the edges as the image below so that there is no buckling in the paper and so that you can center the layers. Repeat with the white layer.
As this point, you will glue down your card front to your card base.
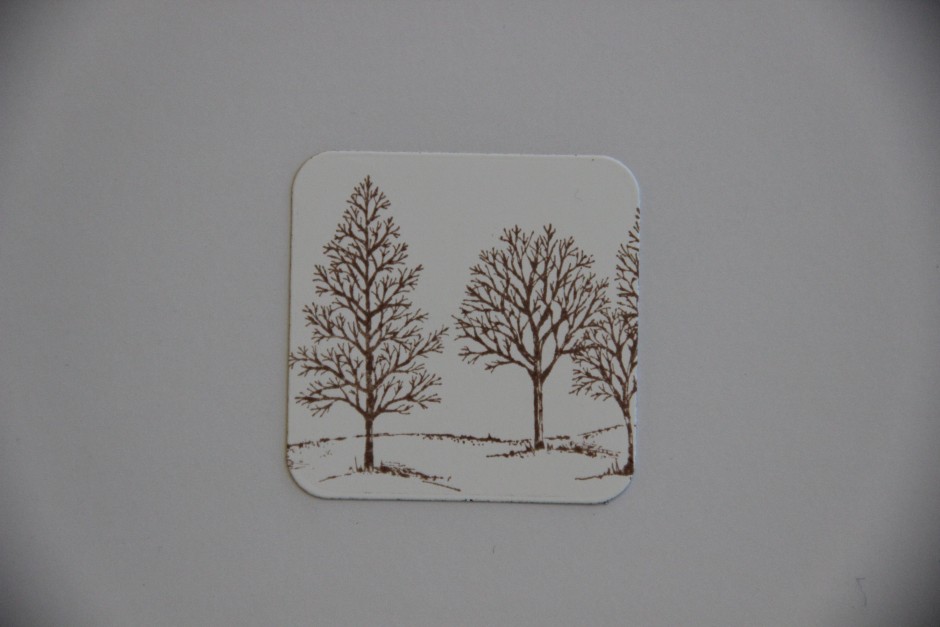
Now you can stamp your image on the remaining 2″x2″ white cardstock with your tree and adhere to the card base.
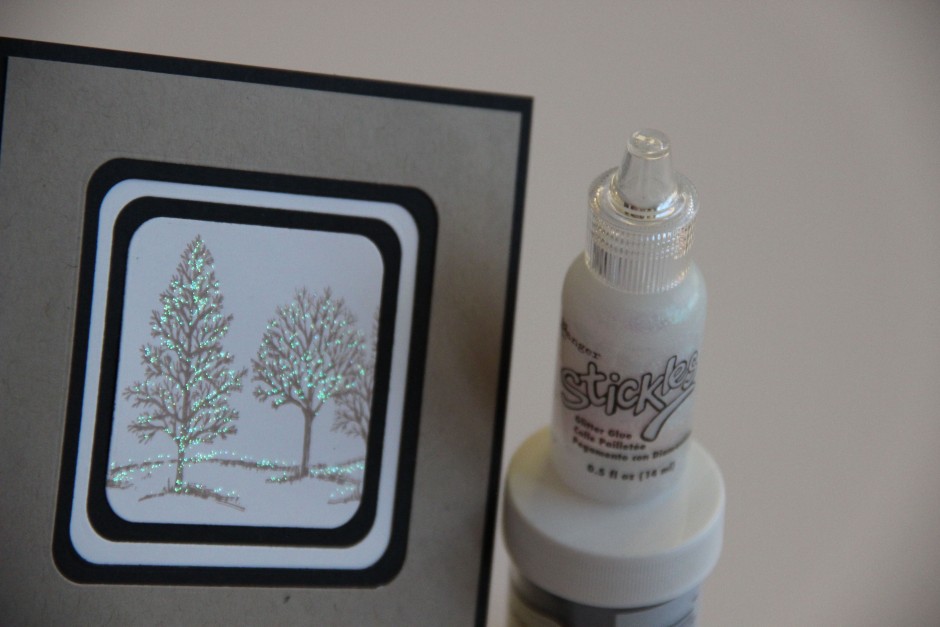
Once the card was all put together I felt that the trees needed an extra sparkle so I added some Stickles to the final image.
I hope you enjoy the card. Until next.


