Hi Everyone,
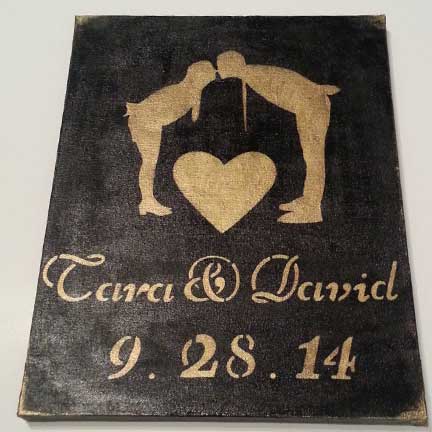
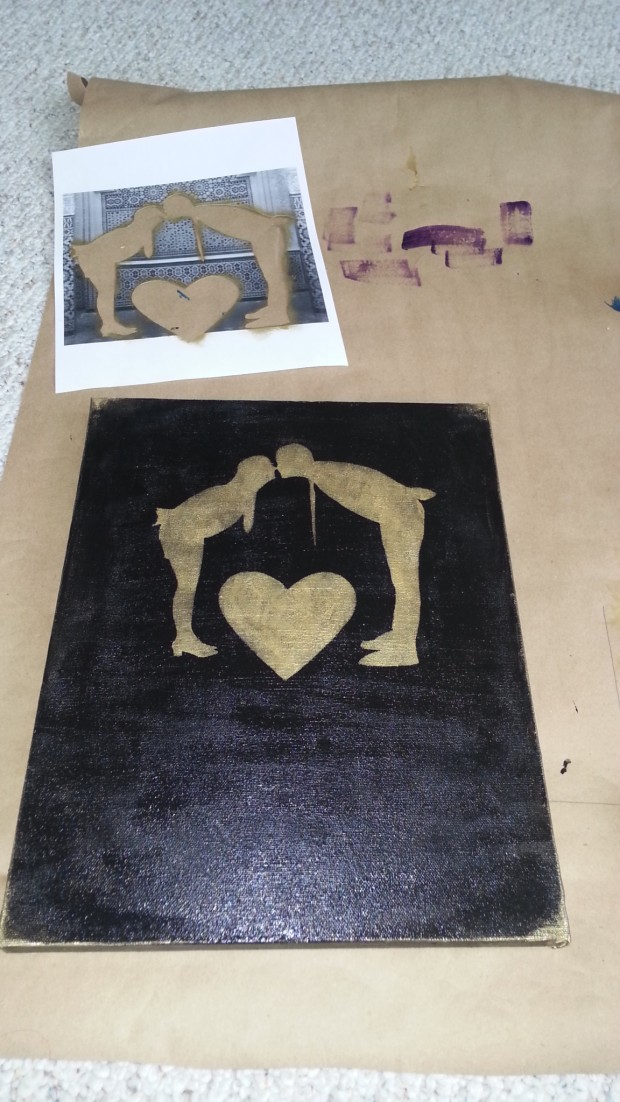
Today I have a simple post. A girlfriend of mine is getting married soon and I wanted to give her something personal and handmade. So I searched the web and pinterest and came across items like these. I figured I could make it a little more personal with an actual silhouettes of them.
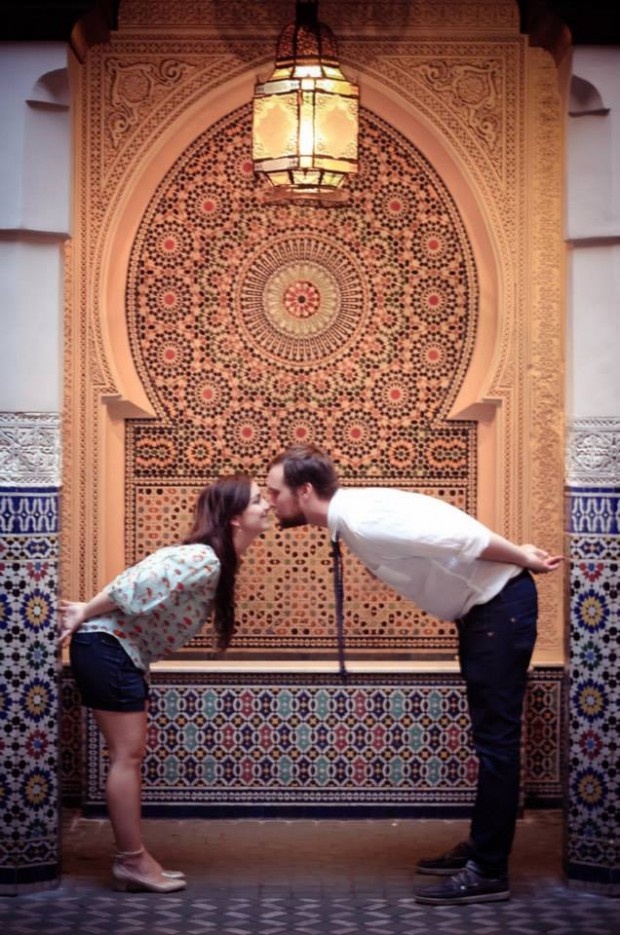
I proceeded to stalk her social media photos until I found the perfect one.
Lets get started!
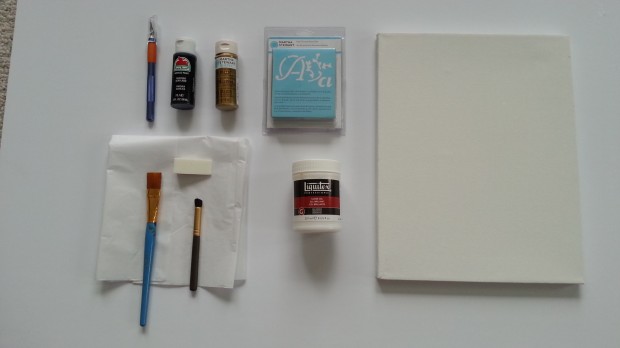
Supplies needed:
- 11″ x 14″ inch canvas
- 2 paint colors of your choice (I used black and gold)
- Xacto knife
- brushes and sponges
- gloss gel
- letter and number stencil
- tissue paper
During my search online, suggestions mentioned that canvas needs to be primed with multiple layers of gesso to smooth out the surface. That seemed time consuming and I remembered I had pinned this artwork a few weeks ago. Virginia said that she used a structure gel to add texture to her paint so I figured I could use something similar to mix with the paint and cut out the gesso priming. I couldn’t find structure gel but came across a gloss gel at the craft store and crossed my fingers that it was close to the same thing. I did a 1:4 ratio of paint to gel mixture and applied 2 layers to the canvas. It took about 20 drying time between the layers. Time saved.
Aha Moments:
Mixing paint with structure/gloss gel to skip priming the canvas
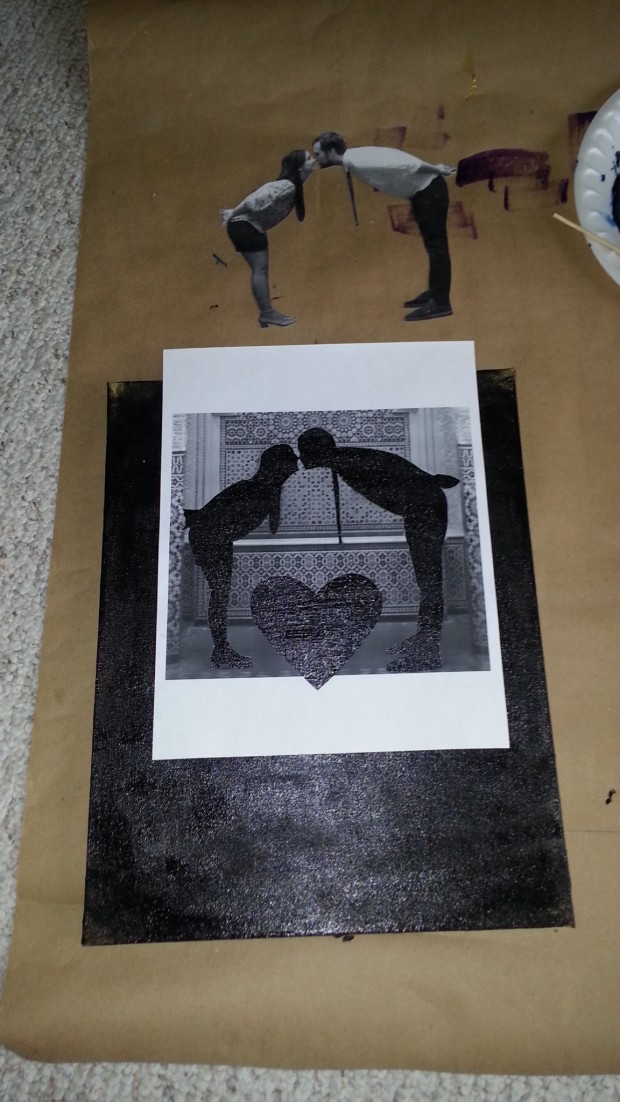
While the paint was drying I went to work on the silhouette cutout. After I found the photo I uploaded it to photoshop and readjusted it to the size I wanted. Then I carefully cut out their silhouette with an Xacto knife over a self healing cutting mat.
I decided that I wanted a heart in the center of the photo. I used a heart framelit as my template and used the Xacto knife again to cut it out. To insure that the cutout did not move I applied some tombow glue on the backside close to the edges. Let the glue dry completely and it becomes tacky so it will stick to anything while still being removable.
I used a makeup sponge to apply two layers of gold paint. The second layer brightened it up a bit. If you want a more aged look I think one layer would be fine. As you can see the cutout came off easily without damaging the canvas. I also applied some of the paint on the corners and edges to soften it up.
I forgot to take pictures of the next part as I was doing it in the middle of the night. For the lettering and numbers I took the tissue paper and measured where I wanted the text and traced it on the paper. This is done so that the text will be lined up straight on the painting and with enough room to spread out. The spacing for the tissue paper measured 11″ x 5″. The ‘&’ and ’28’ was used as the center mark of the text and I placed the rest of the text out from there. A stippling brush is best to used here to apply the paint but I didn’t have one so I used an old makeup brush. The stencil is much thicker that then paper so I would not advise on using the sponge here because you will not get the details of the font.
There you have it. A homemade gift for the bride to be.


